I told to myself that hopefully someday I could turn hobby in my spare times as a motivation for people to make a start in creating or crafting lovely, fun and beautiful invitation card for their special day. Hopefully, I could provide hundreds upon hundreds design in daily basis, like today.
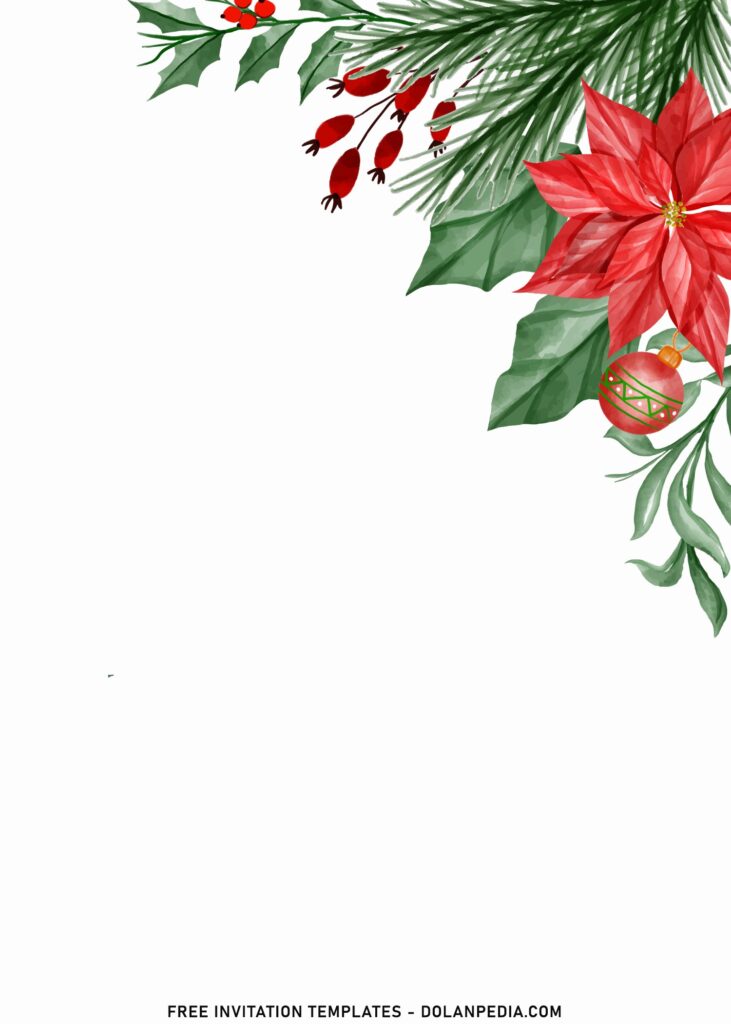
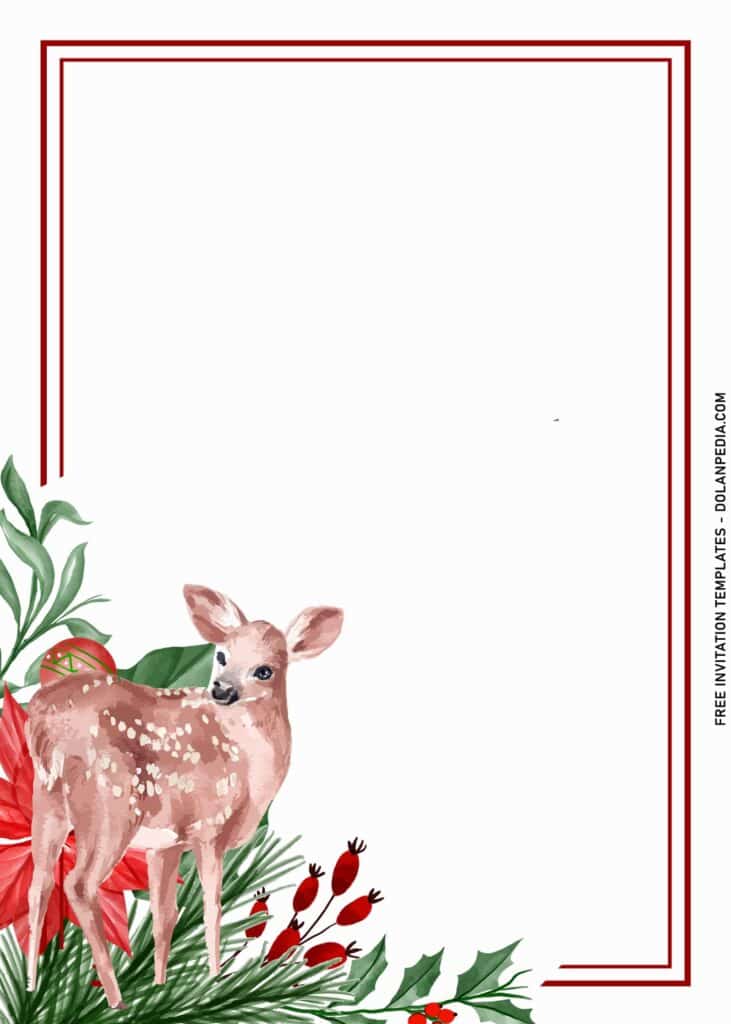
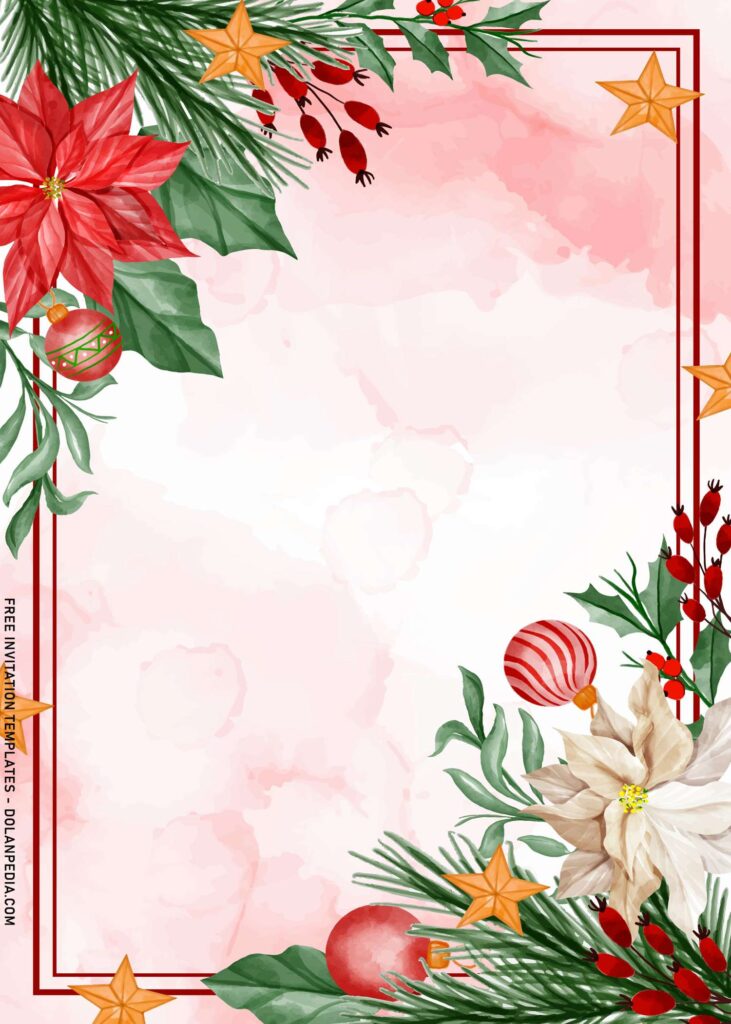
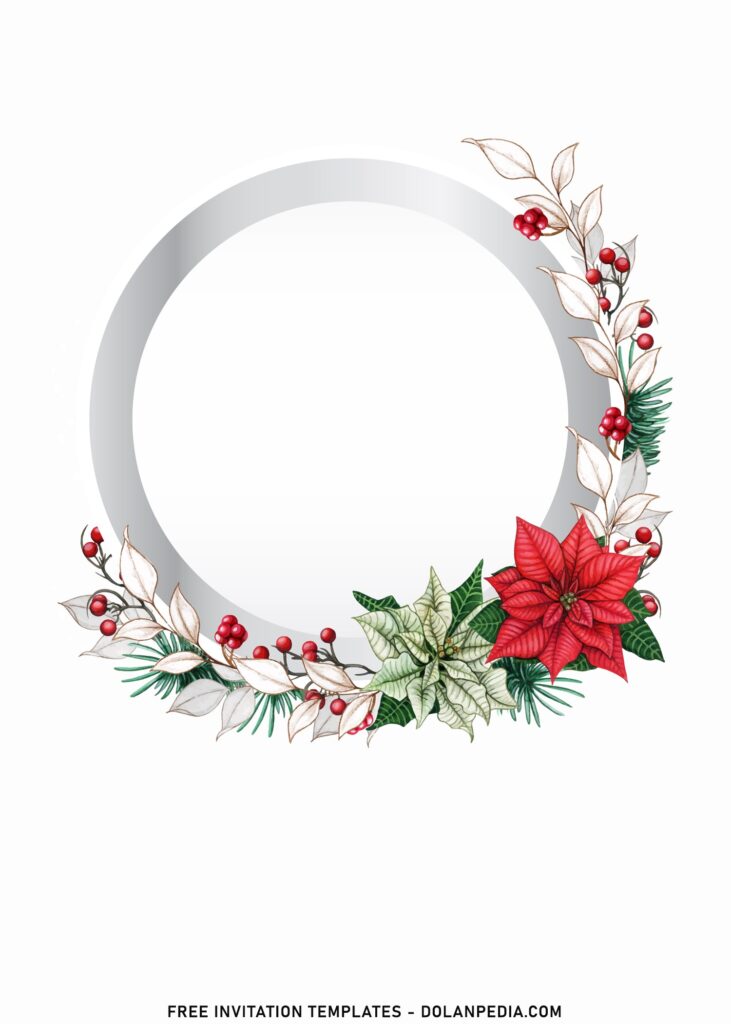
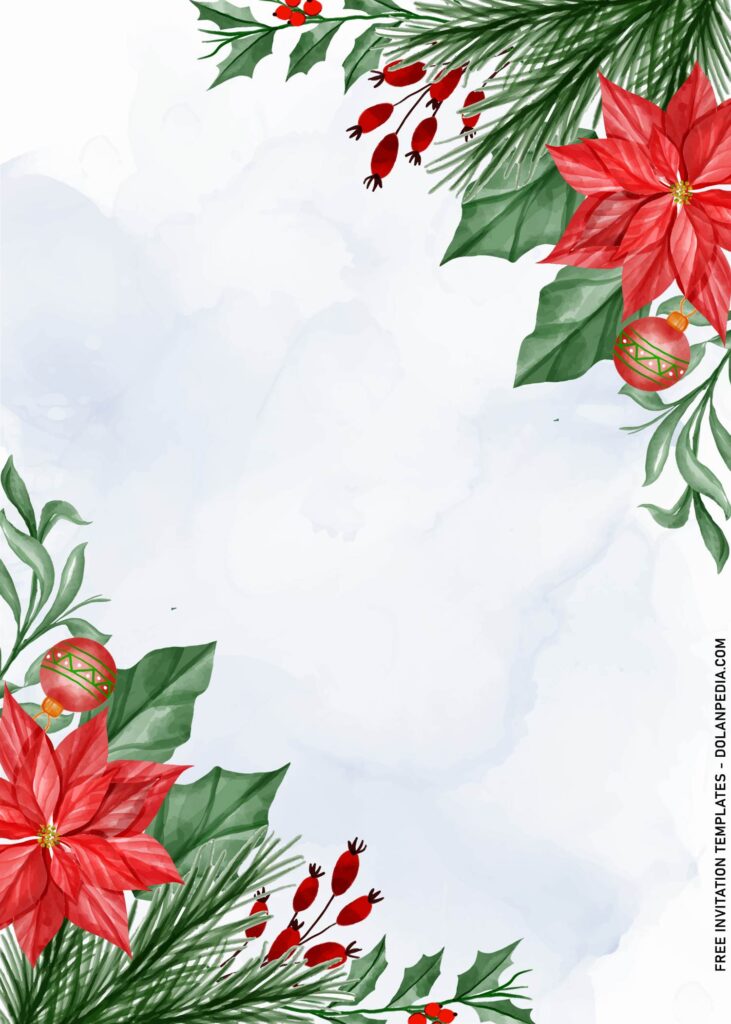
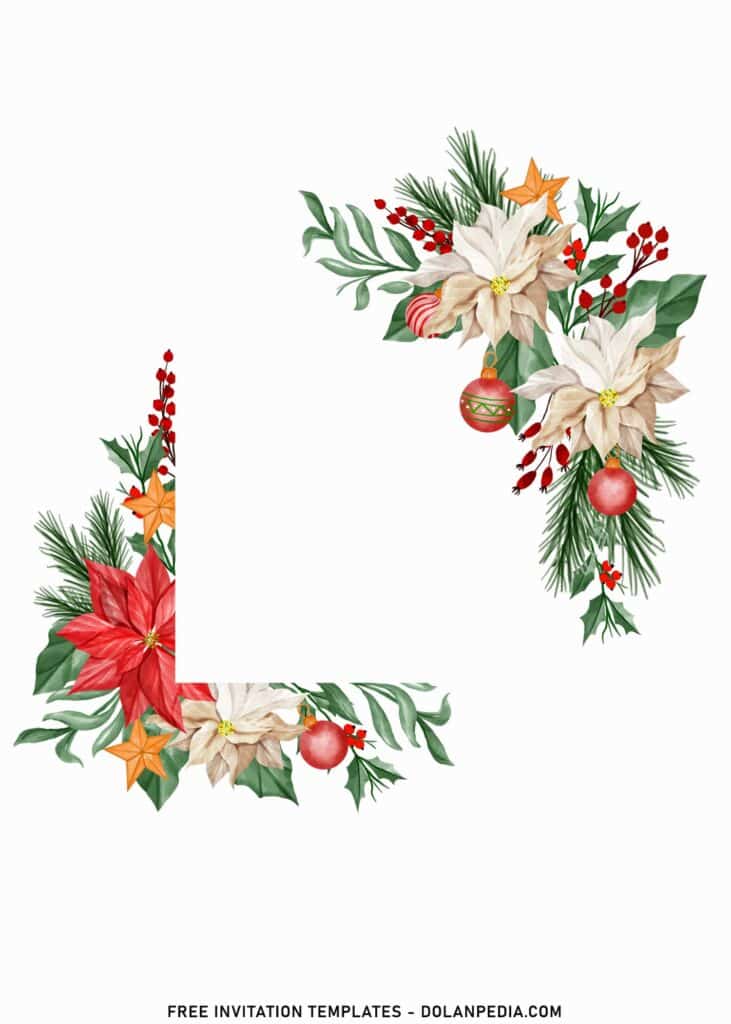
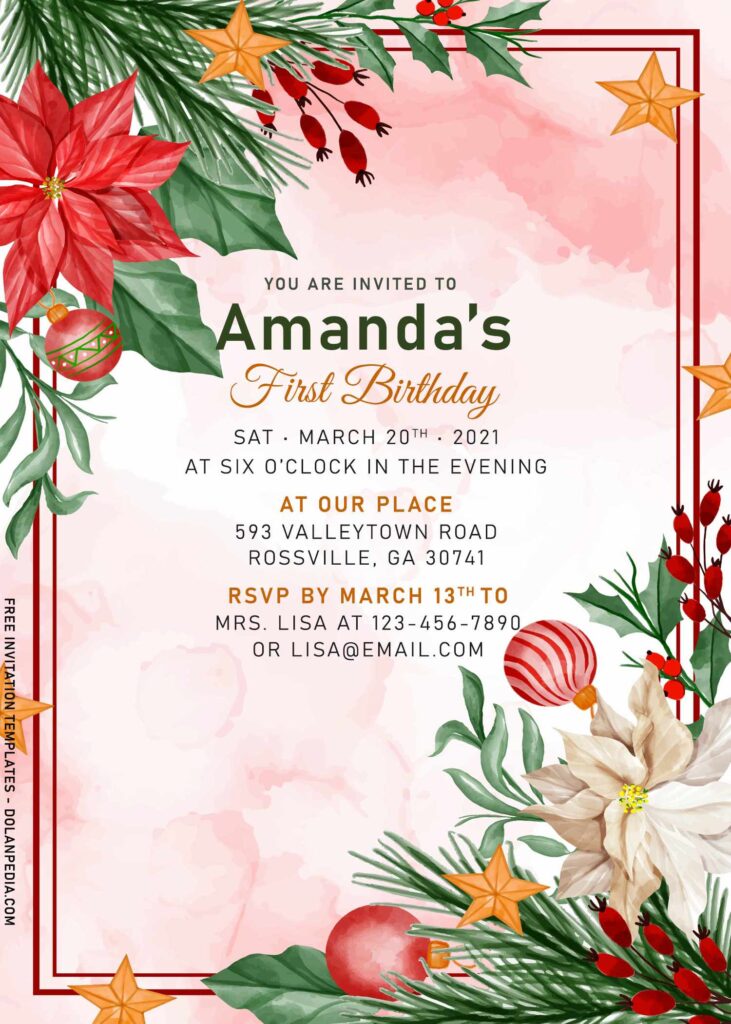
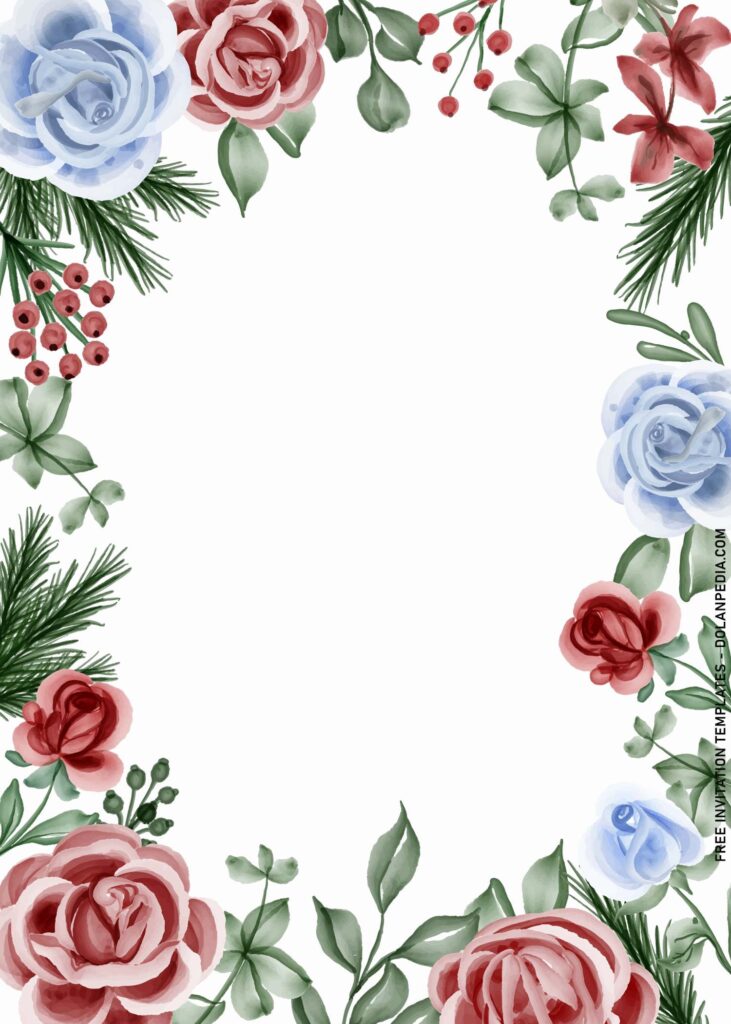
Today, I wanted to share the latest item in our gallery, something less-striking, and stuffed with “winter” foliage. I love how it turned up! I love the touches of bold forest green and red in the color palette, and the floral details are perfect for a late fall holiday events. Thinking of celebrating your kid’s birthday this month? Definitely big GO!
We’ve got place the element; the stunning, dusty Winter foliage and some stuff that’s often related to winter & Christmas like the red bubbles and hanging stars ornament, in each template, which is darn great. With that being said, it means you can also use the rest (other than your favorite one), for your party menus and welcome signs, and the cutest hand lettered gratitude cards.
You can download the full printable set and know the know-hows below, then print onto white card stock, and cut along the crop marks. You can even have everything printed at your local copy & print store to save time – just make sure it’s on 110 lb. matte white card stock and you’ll be good to go!
Read Me (Download Information)
- Choose your favorite template
- Right Click your selection > Select “Save Image As”
- Locate your default download folder and tap “Enter”
- To open and edit the template – open the file with Microsoft Word or Paint or Adobe Photoshop.
How to insert text in Adobe Photoshop:
Go to the tools panel (on your left-hand side) and select the Horizontal Type tool. Click your image where you would like to insert text and type a phrase. When you’re done, press Escape to exit the text field. Notice that a new layer with your text has appeared in the Layers panel.

